Pages

Showing posts with label side dish. Show all posts

Tuesday, July 19, 2011

Garlic Bread Sticks


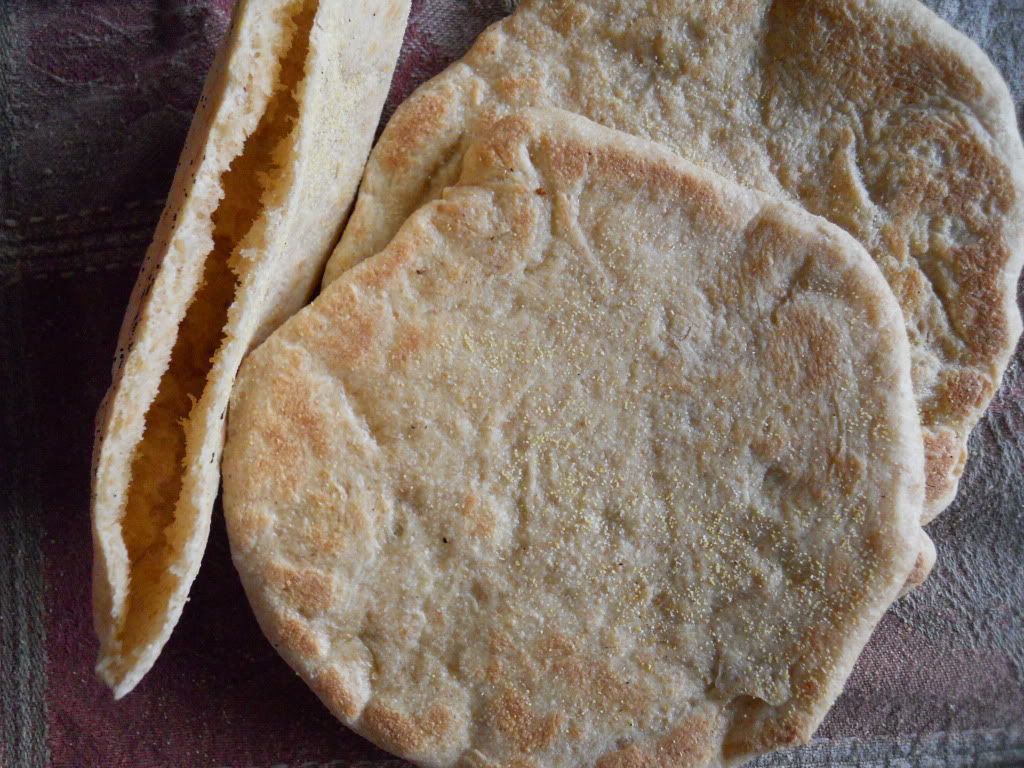
Yes..... well..... ahem...... these look a bit rude, don't they?
They were really just supposed to look like a bread stick; the phallic resemblance was completely unintentional.

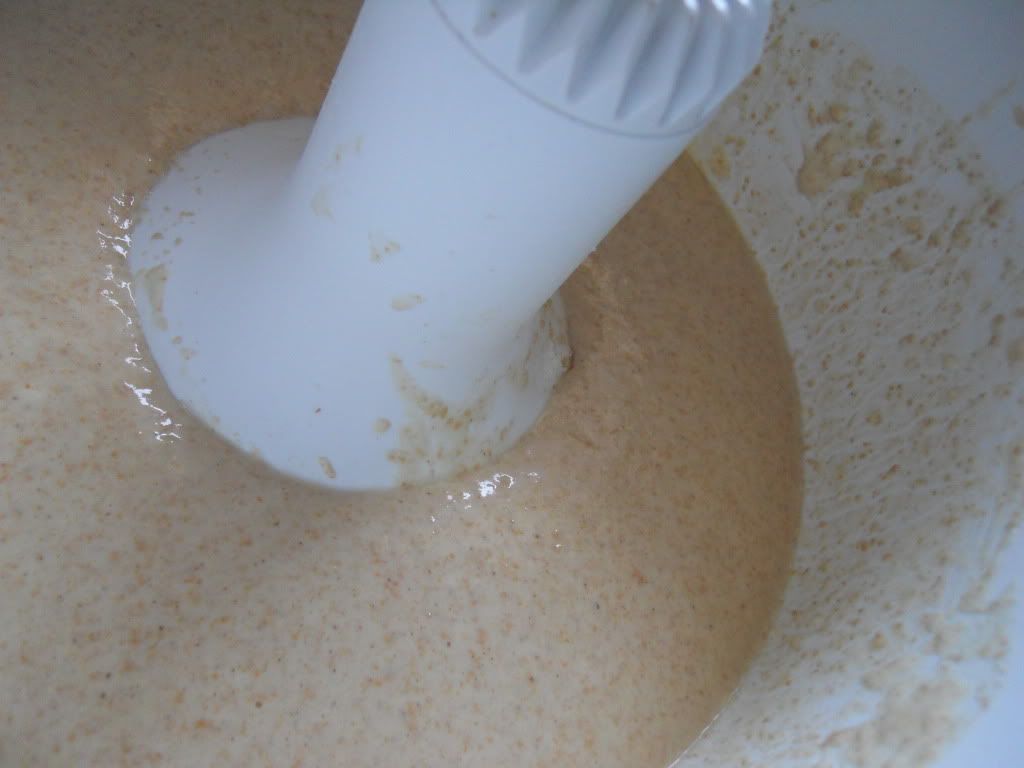
I'm even a bit embarrassed looking at that top photo. Let's just move on to photos of dough. 
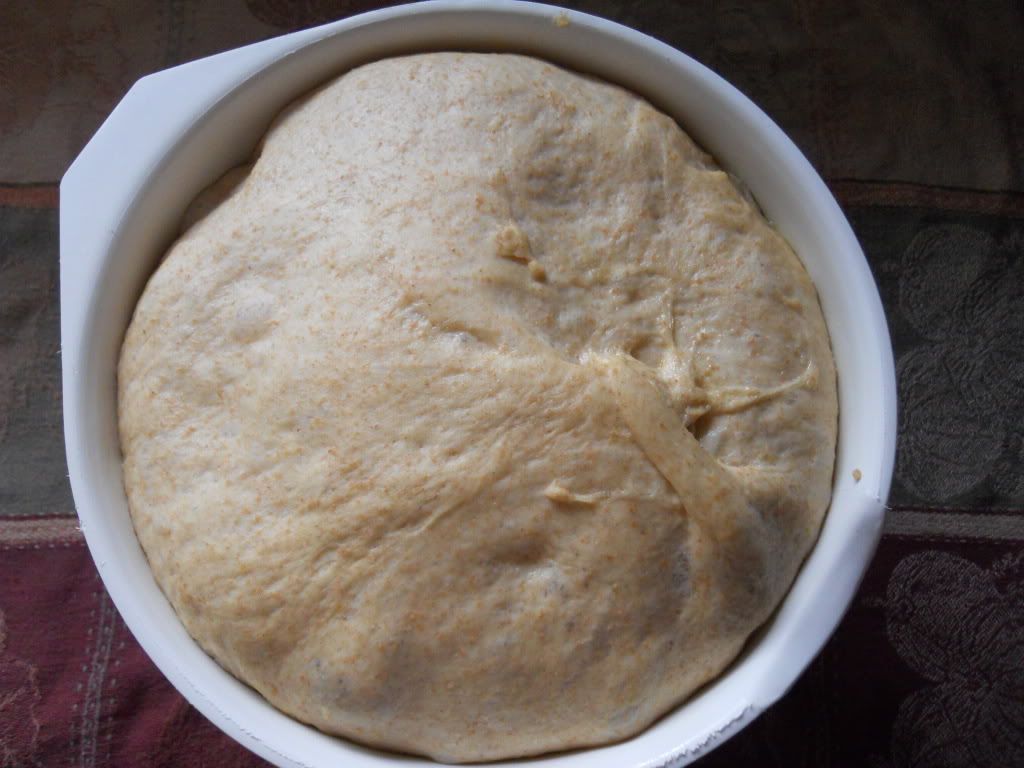
Yes, innocent looking dough..... much better!


Anyways...... these breadsticks were inspired by a Glee eposide via the Food Network.
Apparently somewhere in the show the winners of a duet competition get a dinner at a fictional place called BreadstiX where, ironically (not), the breadsticks, much like these ones, are bottomless.


I can't say that I care very much about Glee, but I do care about bread.
I care deeply about bread.

Especially bread that is soft, chewy, garlicky and accidentally inappropriately shaped.


These were really great fresh out of the oven but didn't keep well. By the next day they were getting a bit dry. In the future, I might try freezing them in dough sticks then taking them out to rise just before I bake them.
Don't worry, if you don't know anything about Glee (like me) you can still enjoy these yummy breadsticks.


Garlic Bread Sticks
Source: Food Network
Makes: 12

  • 1 teaspoon active dry yeast
  • 2 teaspoons sugar
  • 1 teaspoon kosher salt, plus more for sprinkling
  • 2 1/4 cups all-purpose flour, plus more for dusting
  • 1 tablespoon extra-virgin olive oil, plus more for brushing
  • 4 tablespoons unsalted butter, softened
  • 1 clove garlic, minced
  • Chopped fresh herbs (rosemary, thyme and/or oregano), for sprinkling

Directions:

Put 3/4 cup warm water in a food processor. Sprinkle the yeast on top and let sit until foamy, about 5 minutes. Add the sugar and 1 teaspoon salt and pulse until dissolved. Add the flour, olive oil and 1 tablespoon butter and pulse until the dough forms a ball, about 1 minute. Continue to process with the motor running until smooth, about 2 more minutes.
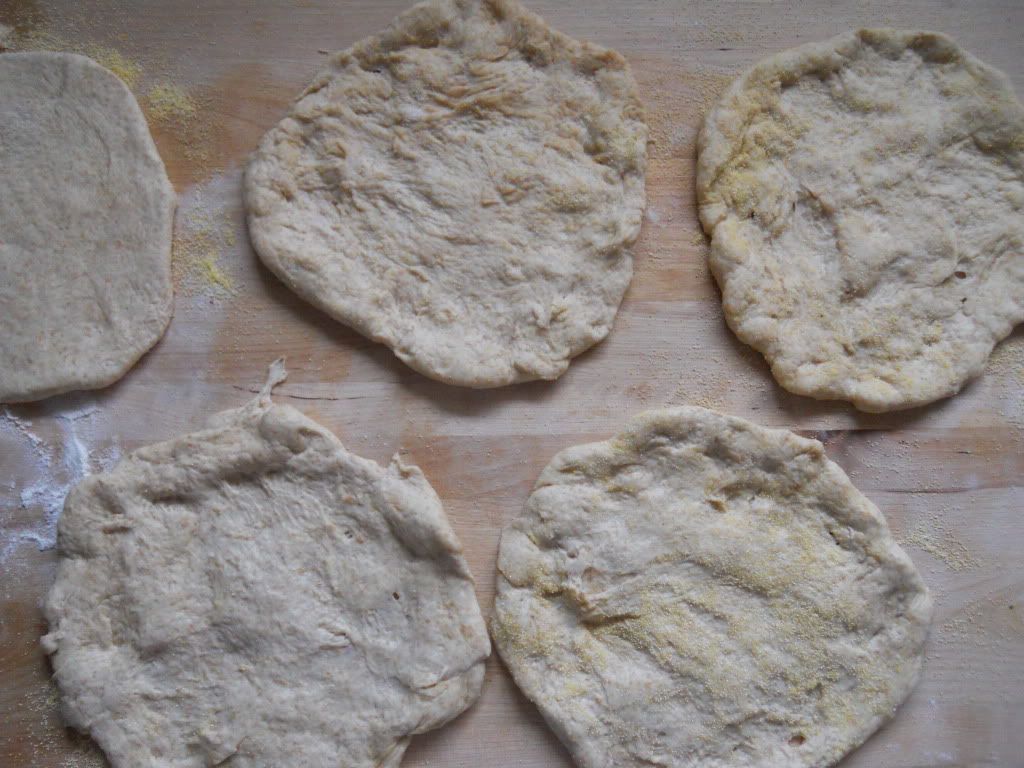
Line 2 baking sheets with parchment paper; brush with olive oil. Turn the dough out onto a floured surface. Divide into 12 pieces, then roll each piece into a 12-to-16-inch rope. Arrange the ropes 1 1/2 inches apart on the prepared baking sheets, rolling them to coat with the oil. Cover each baking sheet with a damp cloth and set aside in a warm place until the breadsticks double in size, 45 minutes to 1 hour.
Preheat the oven to 400 degrees F. Put the remaining 3 tablespoons butter and the garlic in a microwave-safe bowl and microwave until melted, about 1 minute. Brush the breadsticks with the garlic butter; sprinkle with herbs and salt. Bake until golden, 15 to 20 minutes.

Thursday, April 21, 2011

Whole Wheat Pitas


If you're celebrating Passover this week and doing the whole flour-free thing, I apologize for tempting you with this.


I realize it's cruel to dangle this soft, flavorful homemade pita in front of your eyes when you're probably eating something made with matzo meal. (I haven't actually tried anything made with matzo so please forgive my ignorance if it's actually super delicious.)


When the Feast of Unleavened Bread is over, I encourage everyone to try making their own pitas.

You'll never ever go back to store bought ones.
If you do, you'll feel completely disappointed with yourself.
Unless, of course, you're in a rush and just don't have the time, then it's okay.... you don't have to feel disappointed.


Try making these today.... or next week if you must. 

Just be careful when sticking your head in the 500 degree oven, you're mascara might want to melt to your eyeballs. For the ultimate protection, break out your safety goggles... or just improvise with a nice pair of shades ;)


Whole Wheat Pitas
Makes: 8

2¼ tsp active dry yeast
1 tbsp honey
1¼ cups warm water (105°F - 115°F)
1½ cups bread flour or high-gluten flour, plus additional for kneading
1½ cups whole wheat flour
¼ cup extra-virgin olive oil
1 tsp salt
cornmeal for sprinkling baking sheets
Directions:
1. In the bowl of a stand mixer, combine the yeast, honey and ½ cup of the water.  Stir gently to blend.  Whisk ¼ cup of the bread flour and ¼ cup of the whole wheat flour into the yeast mixture until smooth.  Cover the bowl with plastic wrap and set aside until doubled in bulk and bubbly, about 45 minutes.
 2. Remove the plastic wrap and return the bowl to the mixer stand, fitted with the dough hook.  Add in the remaining ¾ cup of warm water, 1¼ cups bread flour, 1¼ cups whole wheat flour, olive oil and salt.  Knead on low speed until the dough is smooth and elastic, about 8 minutes.  Transfer the ball of dough to a lightly oiled bowl, turning once to coat, and let rise in a warm draft-free place, about 1 hour, until doubled in bulk.
3. Place an oven rack in the middle position.  Place a baking stone in the oven (if using) and preheat to 500˚ F.
4. Once the dough has risen, transfer to a lightly floured work surface, punch down the dough and divide into 8 equal pieces.  Form each piece into a ball.  Flatten one ball at a time into a disk, then roll out into a 6½-7 inch circle.  Transfer the rounds to a baking sheet or other work surface lightly sprinkled with cornmeal.  Once all the rounds have been shaped, loosely cover with clean kitchen towels.  Let stand at room temperature for 30 minutes, until slightly puffy.
5. Transfer 4 pitas, 1 at a time, onto the baking surface.  (Note: These can be baked on a baking stone or directly on the oven racks.  I use a pizza stone, but either method is fine.) Bake 2 minutes, until puffed and pale golden.  Gently flip the pitas over using tongs and bake 1 minute more.  Transfer to a cooling rack and let cool completely.  Repeat with the remaining pitas.  Store in an airtight container for up to 3 days.

Wednesday, February 2, 2011

Roasted Beets w/ feta and dill


My lack of photography skill is really showing here.

These don't look very pretty, do they?
In fact, they don't even look all that edible.


Do me a favor and look past appearance today, please?
I promise you, these are much better than they look.
They're darn delicious.

My sister, a genius by all counts, invented (I think) these lovely roasted beets, or at least a version of these. As I recall, hers looked a lot better than mine.


But again, putting looks aside, this simple side dish is great hot or cold.

We ate this as a side to roast beef (can you say iron overload) and then I ate it again the next day cold, mixed into a green salad.


Healthy and delicious, what more could you want?

Roasted Beets w/ feta and dill
Serves: 6 as a side dish

2 ½ pounds beets, well scrubbed or peeled
2 tbsps olive oil
1 tbsp balsamic vinegar
2 tsp dried dill
¼ cup crumbled feta
salt and pepper

Directions:
1. Preheat oven to 450F. Chop beets into 1-inch cubes and toss with olive oil.
2. Spread the beets out evenly on a rimmed baking sheet. Roast, flipping once for 45-55 minutes or until beets are tender and easily pricked with a fork.
3. Toss hot beets with balsamic vinegar, dill, and feta. Season with salt and pepper to taste. Serve hot or cold.


Monday, November 29, 2010

Flour Tortillas


I just want to lay on my couch all afternoon eating cheese quesadillas and watching Desperate Housewives rereuns. Is that too much to ask?


Oh, and I want my quesadillas made with these flour tortillas, please. Thanks.


They're soooo much better than store bought ones. More work for sure but again, soooo much better. I just can't emphasize so enough.


These and cheese (hey! that rhymes) are my comfort food.


So if anyone needs me, you know where I'll be.


Homemade Flour Tortillas
Makes: about 16

2 ½ cups all purpose flour
2 ½ tsp baking powder
1 tsp kosher salt
½ cup + 2 tbsps lard or vegetable shortening
1 cup very hot water

Directions:

1. Combine flour, baking powder and salt in a large wooden bowl. Stir together.
2. Add spoonfuls of lard or shortening (use 1/2 cup PLUS 2 tablespoons), then use a pastry cutter to combine the ingredients. Cut mixture until it resembles coarse crumbs.
3. Slowly pour in hot water, stirring to bring mixture together. Lightly knead dough 30 to 40 times, or until it becomes a cohesive ball of dough and is less sticky. Cover with a tea towel and allow dough to rest for at least an hour.
4. Roll into ping pong size balls, place on a tray, cover with a tea towel, and allow to rest for another 20 to 30 minutes.
5. When you’re ready to make the tortillas, heat a dark or cast iron griddle to medium/medium-high heat. One by one, roll out balls of dough until very, very thin. Throw tortillas (one by one) onto the griddle. Cook on each side for 20 to 30 seconds, removing while tortillas are still soft but slightly brown in spots. Remove and stack tortillas, and cover with a towel to keep warm. Serve immediately or allow to cool before storing tortillas in a container. To warm, nuke tortillas in the microwave, or wrap in foil and warm in the oven.
Helpful tips:
* Make sure the water you pour in is very warm.
* Allow the dough to rest, both after kneading and after forming into balls.
* Roll out very thin.
* Get the heat right on your stove: Too hot, and the tortilla will burn in spots. Not hot enough, and the tortilla will begin to crisp before you can get it to brown. I get my stove between medium and medium high heat; that seems to do the trick.
* Use a dark griddle or cast iron skillet to brown the tortillas.
* Cook just long enough to lightly brown the tortilla in spots; don’t cook too long or tortillas will crisp. You want them to be soft and pliable when you serve them.
* Finally: Have fun! And enjoy them. They’re absolutely scrumptious.


Wednesday, August 25, 2010

How to Grill Corn


Why do you need to know how to grill corn?
You probably don't.
But I do. 
So just indulge me.


I usually prefer to light the barbecue mid December when the air is crisp and the oven's full of Christmas cookies but I thought I'd mix it up.

I do that sometimes. Mix things up. It keeps me on my toes. 
Next time I'll try my christmas cookies on the grill and my corn in the oven. 

I know. 

I live dangerously.


John doesn't like his corn charred so this is how we do it. Grill corn that is.

1. Soak corn in water for 15 mins. This helps soften the husks and prevents the corn from drying out while cooking.


2. Gently pull down husks and remove as much of the silk as you can.  (ie: that annoying stringy stuff that gets all over the place.)


3.  Remove 2 of the longest husks and pull the rest up. Use these long pieces to tie around the corn to keep the husks up.


4. Grill on medium high heat for approx 15 minutes.

5. Shuck that corn (that sounds naughty) and enjoy succulent corn drenched in butter and salt.


Related Posts Plugin for WordPress, Blogger...