Pages

Showing posts with label candy. Show all posts

Wednesday, December 22, 2010

Homemade Marshmallows


These! 
These are what I've been wanting to make!
Something overly festive that just screams "CHRISTMAS!!!" 


Perfect fluffy white marshmallows covered with red and green sprinkles.
They make me feel "♫merry and briiiiighhhhhtttt♫
(and my all your Christmases be white)''.


Marshmallows are surprisingly easy to make.
Some gelatin, lots of sugar and corn syrup beaten together for 10 minutes and voilĂ !
Marshmallows.


The advantages for making them at home are endless.
You can flavour them any way you want (peppermint, coconut, almond, rum.....), you can play with food coloring (use a toothpick to swirl in red and green) and you can shape them however your heart desires (drop them by the spoonful, pipe them into letters or swirls, or use a well-oiled cookie cutter to cut them out of a baking pan).


I've made marshmallows from Martha Stewart before and they were okay, but this recipe turned out much better.  I think the extra gelatin in the recipe made them firmer and less sticky than the former.

On hot chocolate, these look like fresh dollops of whip cream.

Impress your friends and family this christmas with these delicious marshmallows. (One word of warning: they can be quite sticky so don't be stingy with the icing sugar!)

Homemade Marshmallows
Makes: about 60 x 2'' square marshmallows
Source: Dinner with Julie

3 pkg (3 tbsp) plain gelatin
1½ cups sugar
1 cup light corn syrup ( I ran out of light corn syrup and used some dark - it worked fine)
2 tsp vanilla, coconut, peppermint or almond extract
icing sugar for dusting
sprinkles (optional)
2oz melted chocolate (optional)

Directions:
1In a small bowl sprinkle the gelatin over 1/2 cup water. In a medium pot, combine the sugar and another 1/2 cup water and bring to a simmer; add the softened gelatin mixture and stir until fully dissolved and hot to the touch.
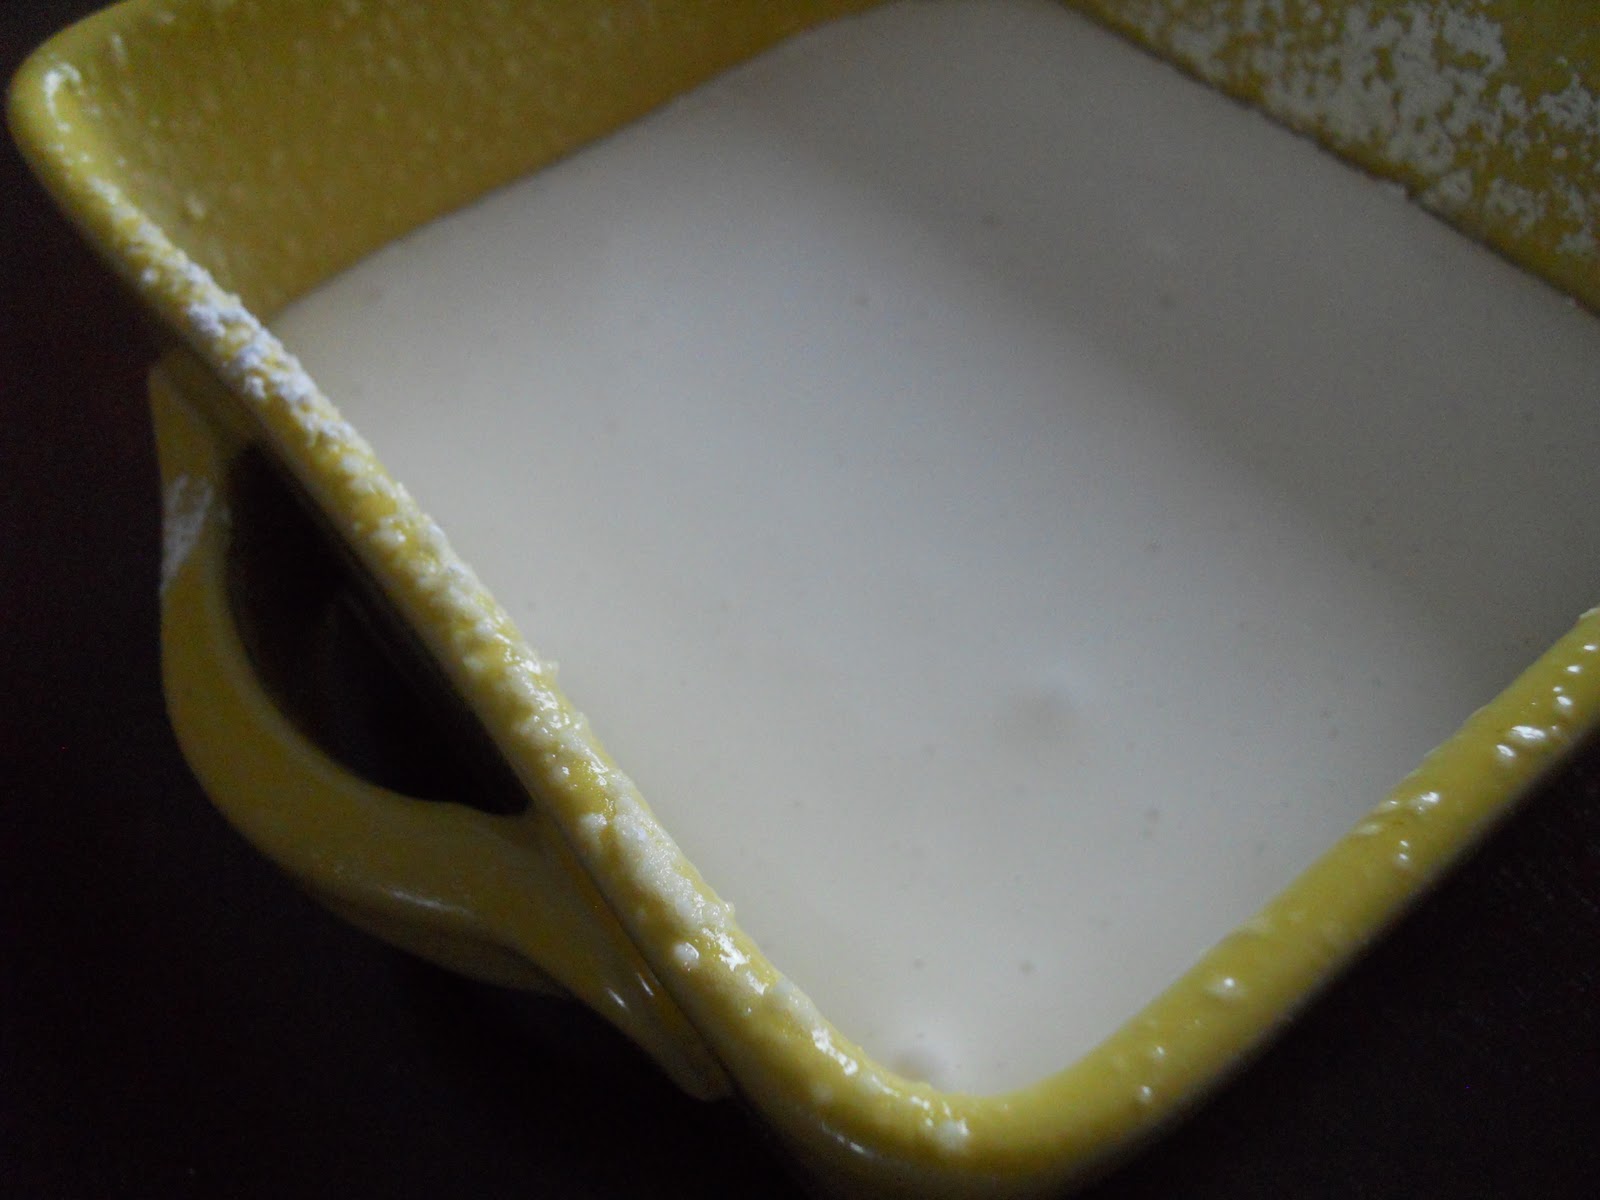
2. Pour into a large bowl (if using a stand mixer, use the whip attachment), add the corn syrup and extract and beat on high for about 10 minutes, until the mixture cools and increases in volume until it is billowy, white and forms soft peaks (much like meringue).
3. Pour into a 9'' x 13'' pan lined with parchment and dusted generously with icing sugar, or spoon into a large zip-lock back, snip off a large piece of one corner and pipe shapes, letters or swirl onto a piece of parchment generously dusted with icing sugar. If using, decorate with sprinkles while marshmallows are still sticky.
4. Let cool completely. If desired, drizzle melted chocolate over marshmallows. If you need to, cut into squares using a well-oiled sharp knife.

Wednesday, November 24, 2010

Eggnog Fudge


Every year I'm super excited when I see the first cartons of eggnog in the grocery store. It means Christmas is just around the corner.
Of course every year I have to buy a carton and every year I don't drink it.


I want to. I do.
But I just don't love milky drinks. I always think I'm going to love it because it's Christmasy and I love all things Christmas but without fail I get stuck with a bunch of eggnog about to expire.


In past years I've made an eggnog chocolate chip tea loaf to appease my annual impulse buy. But c'mon, who really wants to eat tea loaf at Christmas when there's a billion of other decadent choices around? Not me.

So this year I amped it up and made fudge instead.


This fudge stands up to any other goodie on the Christmas platter. I believe I texted my sister to say, "This fudge is AMAZING".

It's creamy, it's smooth, it tastes of vanilla and nutmeg and it's not going to last long around my house.
(The baby will probably eat it all ;)


I might go out and by myself another carton of eggnog just so that I have to use it up again.

Eggnog Fudge
Makes: 64 pieces
Adapted from: ''Christmas'' by Elizabeth Baird and Anna Hobbs

2 cups granulated sugar
1 cup eggnog
1 tbsp light corn syrup
2 tbsp butter
1 tsp vanilla
½ cup chopped walnuts (optional)

Directions:
1. In a large, heavy saucepan, add sugar, corn syrup and eggnog. Cook over medium heat, stirring constantly, until boiling.
2. Use a pastry brush dipped in water to brush down any crystals that may form on the side of the pan. Continue to cook, stirring only if necessary to prevent sticking, until a candy thermometer reaches soft ball stage of 238°F (115°C).
3. Immediately remove from heat, let cool to 110°F (43°C), without stirring.
4. Use a wooden spoon or whisk to beat in the butter and vanilla, beat until mixture is very thick and no longer shiny. Stir in nuts if using.
5. Spread into a greased 8-inch square cake pan. Score in 1-inch square pieces while still warm. Once completely cool, cut into squares. Store in an airtight container for up to 2 weeks.

Friday, September 10, 2010

Almond Honey Chews


I love making candy.
Seriously, it's one of my favourite things.


Other then the obvious reasons to love candy, I love that it stays fresh for weeks. (I would even argue that it keeps for months. )
Being that I'm usually the only one around my house, that's a very desirable quality.


Another thing I love about making candy is that the process is fairly simple but people are crazy impressed by the fact that you made candy.
That's what I'm all about.
Little effort, big impact.

Beige sugar mixture

Oh, and! 
I can't forget that I love to make candy because I usually have the ingredients on hand. It generally only requires sugar, corn syrup, butter, whip cream and sometimes chocolate.

Light brown sugar mixture

And wait, another reason for my love of making candy is that it's wonderful to give as a gift.

Seeing as how it's only 105! days until Christmas, I suggest you keep this in mind.

Rich and delicious caramel

So if I was counting the ways of my love for candy making, that's at least 4 ways.


Just thought of another. 
I love to pick at candy during all of the candy making stages. 
So... make that 5 ways.


Try it today but don't burn your almonds like I did. Oopsies :)


Almond Honey Chews
Makes about 50 small squares

4 cups sliced, blanched almonds
1 cup heavy cream
1 cup whole milk
1 cup butter
¾ cup honey
1 ½ cups sugar
1 tbsp light corn syrup

Directions:
1. Preheat oven to 350°F. Place the almonds on a cookie sheet and bake until lightly toasted. Don't burn them like I did :( . Transfer the almonds to a bowl but leave the oven on. Grease a 12'' x 8'' rimmed cookie sheet and line with parchment.
2. Place all remaining ingredients except the almonds in a heavy bottomed saucepan and attach a candy thermometer to the side. Bring mixture to a boil over medium high heat. When the mixture changes from beige to light brown turn heat down to med-low and continue to cook stirring every 2 minutes. Cook until the mixture reaches 260°F (now it's caramel) and remove from heat.
3. Fold in the almonds with a heat proof spatula. Scrape mixture onto prepared pan and bake for 12 minutes or until the candy flattens out and air bubbles appear throughout.
4. Allow to cool at least 4 hours before cutting into tiny squares. Store in an airtight container.
Related Posts Plugin for WordPress, Blogger...