Pages

Monday, November 29, 2010

Flour Tortillas


I just want to lay on my couch all afternoon eating cheese quesadillas and watching Desperate Housewives rereuns. Is that too much to ask?


Oh, and I want my quesadillas made with these flour tortillas, please. Thanks.


They're soooo much better than store bought ones. More work for sure but again, soooo much better. I just can't emphasize so enough.


These and cheese (hey! that rhymes) are my comfort food.


So if anyone needs me, you know where I'll be.


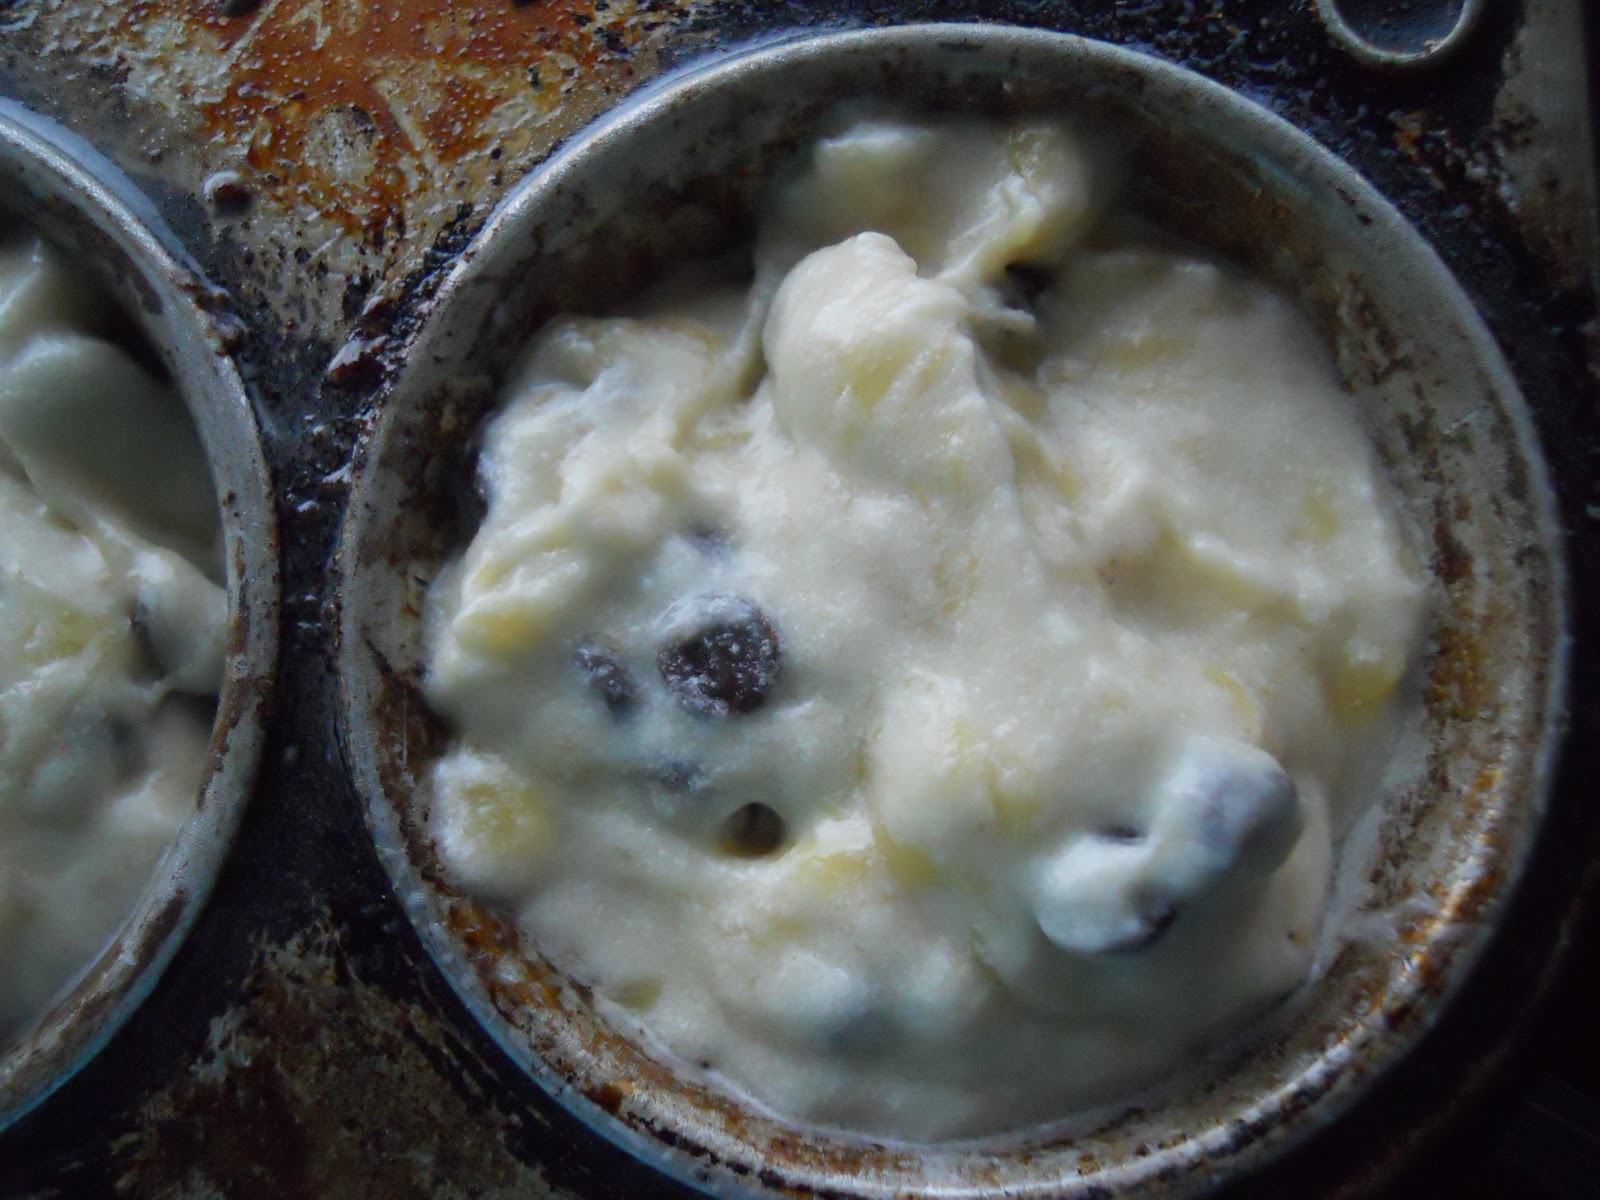
Homemade Flour Tortillas
Makes: about 16

2 ½ cups all purpose flour
2 ½ tsp baking powder
1 tsp kosher salt
½ cup + 2 tbsps lard or vegetable shortening
1 cup very hot water

Directions:

1. Combine flour, baking powder and salt in a large wooden bowl. Stir together.
2. Add spoonfuls of lard or shortening (use 1/2 cup PLUS 2 tablespoons), then use a pastry cutter to combine the ingredients. Cut mixture until it resembles coarse crumbs.
3. Slowly pour in hot water, stirring to bring mixture together. Lightly knead dough 30 to 40 times, or until it becomes a cohesive ball of dough and is less sticky. Cover with a tea towel and allow dough to rest for at least an hour.
4. Roll into ping pong size balls, place on a tray, cover with a tea towel, and allow to rest for another 20 to 30 minutes.
5. When you’re ready to make the tortillas, heat a dark or cast iron griddle to medium/medium-high heat. One by one, roll out balls of dough until very, very thin. Throw tortillas (one by one) onto the griddle. Cook on each side for 20 to 30 seconds, removing while tortillas are still soft but slightly brown in spots. Remove and stack tortillas, and cover with a towel to keep warm. Serve immediately or allow to cool before storing tortillas in a container. To warm, nuke tortillas in the microwave, or wrap in foil and warm in the oven.
Helpful tips:
* Make sure the water you pour in is very warm.
* Allow the dough to rest, both after kneading and after forming into balls.
* Roll out very thin.
* Get the heat right on your stove: Too hot, and the tortilla will burn in spots. Not hot enough, and the tortilla will begin to crisp before you can get it to brown. I get my stove between medium and medium high heat; that seems to do the trick.
* Use a dark griddle or cast iron skillet to brown the tortillas.
* Cook just long enough to lightly brown the tortilla in spots; don’t cook too long or tortillas will crisp. You want them to be soft and pliable when you serve them.
* Finally: Have fun! And enjoy them. They’re absolutely scrumptious.


Friday, November 26, 2010

Peppered Mixed Nuts with lemon & capers


Christmas munchies.
New Years munchies.
Movie munchies.
That's what these are.


You start off with some capers which you fry up to make 'em crispy.

Then you head over to your unsalted nuts (trust me, there's plenty o' salt in the capers) and you roast them with some good stuff like pepper and lemon juice to make 'em crunchy.


Then you toss it all together with some lemon zest to make 'em zesty.


Crispy. Crunchy. Zesty. Enough said.

Peppered Mixed Nuts (w/ lemon & capers)
Makes about 9 cups
Source: 2006 'Martha Stewart Holiday' Special Issue

3 cups capers, drained and rinsed
1 quart canola oil
6 cups mixed nuts, unsalted
2 tbsps fresh lemon juice
2 tsps freshly ground pepper
2 tbsps finely grated lemon zest

Directions:
1. Preheat the oven to 300°F. Place capers on a paper-towel-lined baking sheet. Let dry completely, about 1 hour.
2. Heat oil in a large saucepan until it registers 350°F on a deep fry thermometer. Carefully add ¼ cup capers and fry, stirring until golden brown, about 3 minutes. Use a slotted spoon to transfer the capers to another paper-towel-lined baking sheet. Adjust heat as necessary to maintain oil temperature, continue cooking capers in ¼cup batches until all capers have been fried. Reserve 2 tbsps of oil and discard the rest.
3. In a bowl, toss nuts with reserved oil, lemon juice and pepper. Spread nuts on a rimmed baking sheet. Toast in oven, stirring occasionally, until golden brown, about 25 minutes. Let cool about 20 minutes. Sprinkle with lemon zest; toss with fried capers. Store in an airtight container for up to 2 weeks.

Wednesday, November 24, 2010

Eggnog Fudge


Every year I'm super excited when I see the first cartons of eggnog in the grocery store. It means Christmas is just around the corner.
Of course every year I have to buy a carton and every year I don't drink it.


I want to. I do.
But I just don't love milky drinks. I always think I'm going to love it because it's Christmasy and I love all things Christmas but without fail I get stuck with a bunch of eggnog about to expire.


In past years I've made an eggnog chocolate chip tea loaf to appease my annual impulse buy. But c'mon, who really wants to eat tea loaf at Christmas when there's a billion of other decadent choices around? Not me.

So this year I amped it up and made fudge instead.


This fudge stands up to any other goodie on the Christmas platter. I believe I texted my sister to say, "This fudge is AMAZING".

It's creamy, it's smooth, it tastes of vanilla and nutmeg and it's not going to last long around my house.
(The baby will probably eat it all ;)


I might go out and by myself another carton of eggnog just so that I have to use it up again.

Eggnog Fudge
Makes: 64 pieces
Adapted from: ''Christmas'' by Elizabeth Baird and Anna Hobbs

2 cups granulated sugar
1 cup eggnog
1 tbsp light corn syrup
2 tbsp butter
1 tsp vanilla
½ cup chopped walnuts (optional)

Directions:
1. In a large, heavy saucepan, add sugar, corn syrup and eggnog. Cook over medium heat, stirring constantly, until boiling.
2. Use a pastry brush dipped in water to brush down any crystals that may form on the side of the pan. Continue to cook, stirring only if necessary to prevent sticking, until a candy thermometer reaches soft ball stage of 238°F (115°C).
3. Immediately remove from heat, let cool to 110°F (43°C), without stirring.
4. Use a wooden spoon or whisk to beat in the butter and vanilla, beat until mixture is very thick and no longer shiny. Stir in nuts if using.
5. Spread into a greased 8-inch square cake pan. Score in 1-inch square pieces while still warm. Once completely cool, cut into squares. Store in an airtight container for up to 2 weeks.

Monday, November 22, 2010

Spiced Vanilla Pear Butter


You see how in the picture above the spoon has a heavenly like shine?
That's for real.
That's how good this stuff is.


A sweet senior lady from our church gave my a few boxes of pears earlier in the fall and this angelic spread was a (successful!) attempt to use up the last of those pears.


This was really easy to make. I made a few mistakes (mostly due to laziness) but I think it only enhanced the overall product.


Mistakes like: I didn't peel the pears. 
I know I should've but 7lbs of pears?!? That's a lot of peeling and sometimes I can barely find a sane moment to brush my teeth let alone do unnecessary peeling. Plus who wants to see all those peels go to waste?
 Not me.
So instead I puréed twice, once after the pears were cooked (as instructed) and then again after the spices where added and it had been cooked for about an hour. All this puréeing made it as smooth as.... you guessed it.... BUTTA!


My other hiccup in this pear butter making process happened when I left the stuff unattended for about an hour and surprise, surprise, the bottom started to burn.
Fortunately,
I caught it just in time and something beautiful happened. 

Hot sugar got hotter and became caramel. 
That's when it was elevated to food for the angels.
(So I guess this is caramelized pear butter - but good luck if I can ever do that again.)


Try this out for the holidays.
It's fantastic on toast, pancakes, stirred into oatmeal and great with cheese.
There's just something divine about it.


Spiced Vanilla Pear Butter
Makes: 8 x 8oz jar or 4 pints
Adapted from: GoodLife Eats

7lbs pears (cored and peeled if you want)
½ cup water
zest and juice of 1 lemon
2 cups granulated sugar
3 tsp vanilla extract
2 tsp cinnamon
½ tsp cardamon
¾ tsp nutmeg
juice of 1 orange

Directions:

1. In a large stainless steel saucepan, combine the pears, water, lemon zest and juice. Bring to a boil over medium-high heat. Reduce heat and boil gently, occasionally stirring, for 20 minutes.
2. Working in batches, transfer mixture to a food processor fitted with a metal blade and puree just until a uniform texture is achieved. Do not liquefy. Measure 8 cups of pear puree (I used the excess as Pearsauce).

3. In a clean large stainless steel saucepan, combine pear puree, sugar, orange juice, vanilla, cinnamon, cardamom, and nutmeg. Stir until sugar dissolves. Bring to a boil over medium-high heat, stirring frequently. Reduce heat and boil gently, stirring frequently, until mixture thickens and holds it shape to a spoon and liquid does not separate. ( I cooked it on low heat for about 2.5 hours.)
3. Meanwhile, prepare canner, jars and lids: Wash and rinse the jars in hot soapy water. Drain the jars well of any excess water. Set the screw bands aside - they don't require sterilizing. Place the lids - the flat round portion of the two-piece closures - in a small saucepan, cover with water and bring to a simmer. Don't boil. Keep lids hot until you're ready to use them.
4. Ladle hot butter into hot jars, leaving 1/4 inch head-space. Remove air bubbles and adjust head-space, if needed, by adding more butter. Wipe rim. Center the lid on jar and screw band down until resistance is med, then increase to fingertip tight.
5.Place jars in canner, ensuring they are completely covered with water. Bring to a boil and process for 10 minutes. Remove canner lid. Wait 5 minutes, then remove jars, cool and store.


Friday, November 19, 2010

Chili-Lime Marinade


Dinner at my house is usually dictated by what's dying in the fridge and needs to be used up.
The other night it was a lime facing a lonely death in the vegetable crisper.
A dried out old lime.
Doesn't that sound appetizing.


Nonetheless, I subscribe to 'waste not want not' so the dry lime had to be used. 
I had been thinking about doing a citrus rosemary marinated chicken but since I didn't have any rosemary: no go.

Fortunately, the internet is a vast resource for lime recipes so it was easy to find an alternate solution.


This chili lime marinade was excellent. I doubled the recipe to get enough for my chicken and I'm glad I did.
More marinade = More Flavour. Simple.

Next time I might try it on roasted veggie kebobs. Of course, I'll have to wait until another lime dries up in the fridge.


Chili Lime Marinade
Makes about ¼ cup
Adapted from: All Recipes

3 tbsps olive oil
1 tbsp red wine vinegar
1 lime, juice and zest
1 tsp chili powder
½ tsp paprika (smoked if you have it)
½ tsp onion powder
½ tsp garlic powder
cayenne pepper to taste
salt and pepper to taste

Directions:
1. In a small bowl whisk together olive oil, vinegar and lime juice. Add zest, chili powder, paprika, onion powder, garlic powder, cayenne, salt and pepper and whisk until smooth.
2. Marinade veggies, chicken or tofu for at least 1 hour. (Longer if possible.)

Wednesday, November 17, 2010

Soft Pretzels


I've had pretzels on the brain.


Last week my husband and I went amusement park hopping and everywhere we went there were soft baked pretzels.


Their smell taunted me for days. 
They pleaded with me to buy them all and not leave until I'd eaten every last crumb.
I finally gave in to their demands and bought one on the last day of our trip. 


But guess what?
It sucked big time!
It tasted like a big hunk of super salty dry bread.
Not cool, not cool my friends.

Since that terribly disappointing moment all I've been able to think about is righting this injustice and making myself a good pretzel.


Well that time has finally arrived. (I think I was home about 10 hours before I started making pretzels.)
It took a little time to boil, brush and bake but it was totally worth it!
These are so much better than store bought ones and I love that I can control the amount of salt on them.


The trickiest part seemed to be forming them. Next time I'm going to try to roll them thinner so they're more ummm.... pretzel like and less glob of dough like.


Soft Pretzels
Makes 8 - 10
Source: Annie's Eats


1 ½ cups warm water
1 tbsp sugar
2 tsp kosher salt
2 ¼ tsp instant yeast
4 ½ cups flour
¼ cup melted butter


⅔ cup baking soda
10 cups water
1 egg yolk beaten with 1 tbsp water
pretzel (or coarse) salt


Directions:
1. To make the dough combine the water, sugar, salt and yeast in the bowl of a stand mixer fitted with the paddle attachment. Mix on low speed to dissolve the yeast. Add in the flour and melted butter until the dough just comes together. Switch to the dough hook and knead for 5 minutes until dough is smooth and pulls away from the side of the bowl.
2. Transfer to a lightly greased bowl and cover with plastic wrap. Allow to rise in a warm place for 50 - 55 minutes or until dough has doubled in size.
3. Preheat the oven to 450°F. Line 2 baking sheets with parchment. Bring the water and baking soda to boil in a large pot. Meanwhile, divide the dough into 8 or 10 pieces depending on the size of pretzel you want. Roll each piece into a long thin rope. Shape into a pretzel and place on the baking sheets.
4. Working with 1 or 2 at a time, boil the pretzels for 30 seconds each. Once all the pretzels have been boiled brush with the egg and sprinkle with salt. Bake in the preheated oven until dark brown (about 12 minutes). Cool 5 minutes before enjoying.

Monday, November 15, 2010

Mustard Onions and Pickles


Do you remember my Great Pickle Disaster?

No?

That's okay.
I'm trying to forgot about it too.


The same day that I bought my big box of cucumbers for those pickles I thought I needed to buy a few pounds of silver skin onions. You know the ones with the really difficult to skin to peel off?
Yea... those ones.
They were just too cute to pass up.


Initially, I thought about roasting the little guys but since my meat and potatoes hubby hates onions I didn't want to get stuck eating them all by myself.


I guess he doesn't know that love means you eat whatever your loving wife cooks for you.
I think we should've added it to our wedding vows:
"I vow to cherish you and eat whatever food you cook for me. Even if it smells like dirty diapers and I want to puke, I will chew and swallow with a smile because I know it will make you happy."


This is my four year old niece, Arielle. Isn't she beautiful? She loves helping in the kitchen and although it's not really a help when she 'helps' I love her enthusiasm. Especially when it comes to peeling onions ;)


But since he didn't vow to eat anything I cook.... I opted away from roasting them and made them into these mustard onions.


I'm pretty sure it was the better choice.
This way I'll be able to give them as gifts for Christmas to people who like onions.


So if you're on my Christmas list and you don't mind onions, you're probably gonna get a jar of these.

Mustard Cucumbers
Makes: about 6 pints
Source: The Mennonite of Treasury Recipes 

7 large cucumbers
3lbs silverskin pearl onions
2½ cups vinegar
2 cups white sugar
2 tbsp dry mustard
1 tsp ginger
1 ¾ cups water
½ cup flour
¾ tbsp turmeric

Directions:
1. Peel cucumbers and onions. Slice cucumbers. Sprinkle with salt and let stand overnight. (I didn't do this and mine seemed to turn out fine)
2. To a large saucepan add the vinegar, sugar, mustard, ginger, water, flour and turmeric. Cook on med high heat until thick and smooth (about 5 minutes.) 
3. Drain cucumbers and onions and add to sauce. Cook 10 minutes longer.
4. Fill clean sterilized jars and seal.


Thursday, November 11, 2010

Easy Jam Tartlettes


I'm sorry.
I've been busy.
I haven't been around these parts much lately.


I've been other places.

Like Trader Joe's.
The San Diego Zoo.
Knott's Berry Farm.
Disneyland.
And Trader Joe's again and again.


So needless to say I haven't been baking much. I've been eating much, though.
Oh believe me, I've been eating.
I've been eating funnel cakes, churros, pretzels, popcorn, and fried chicken.

(Clearly I like to eat healthy while I'm away.)


Before I left on my little don't-have-a-kitchen-so-I'll-eat-lots-of-junk voyage I made a batch of these little beauties.

I was procrastinating.
Who likes to pack when you can bake?

They were easy. Hence the name.
They were good. They're in my freezer.
I want one now. Or maybe five.

I think they'll be a healthy balance to what I've been eating lately.


Jam has fruit in it so I'll just count it as my fruit for the day and cornmeal's a vegetable, right?

Easy Jam Tartlettes
Makes: 24
Source: David Lebovitz's Ready for Dessert

1 ½ cups flour
½ cup cornmeal
2 tsp baking powder
½ tsp salt
9 tbsp unsalted butter
½ cup granulated sugar
2 eggs (1 of them separated)
⅛ tsp almond extract
1 ½ tsp jam (I used plum)

Directions:
1. In a small bowl combine flour, cornmeal, baking powder and salt. In a stand mixer with a paddle attachment blend butter and sugar until smooth.
2. Add the egg, egg yolk and almond extract until blended. Gradually add flour mixture until dough just comes together.
3. Transfer about 1/3 of the dough to a lightly floured counter and roll into a log. Wrap in plastic wrap and put in the fridge (or freezer) until firm. Press about 1 heaping tbsp of  the remaining dough into each cup of a mini tart pan. Press into the bottom and up the sides. Place in the fridge until firm.
4. Preheat the oven to 375°F. Fill each tart shell with a good spoonful of jam. Use a sharp paring knife to cut round discs from the dough 'log'. Place one dough circle on each tart.
5. Bake for 10 - 15 minutes or until crust is golden. Let sit in pan for 5 minutes and then remove and place on a cooling rack.


Friday, November 5, 2010

Applesauce Spice Cake


This my non fancy shmancy cake.
It's what'd I'd call an 'everyday cake'.


Everybody needs to eat a little cake everyday.
I know I sure do.


Didn't someone once say, ''An apple a day keeps the doctor away''?

Well, that's all I'm doing here. Staying in good health.
They didn't specify it couldn't be in cake form.


In fact, I think what they meant to say was, ''An apple, made into applesauce and then made into spice cake topped with light cinnamon cream cheese frosting a day will keep you in such high spirits that your health will have to go the way of your smile and that's what will keep the doctor away.''


I speak only truth.

Leave me a comment with your favourite everyday cake.

Spiced Applesauce Cake w/cinnamon cream cheese frosting
Serves: 10
Source: Smitten Kitchen

For the cake:
2 cups all purpose flour
2 tsp baking powder
½ tsp baking soda
½ tsp salt
¾ tsp cinnamon
½ tsp ground ginger
⅛ tsp cloves
½ cup soft unsalted butter
1 cup packed brown sugar
1 tsp vanilla extract
2 eggs
1 ½ cups unsweetened apple sauce

For the frosting:
5oz cream cheese, softened
3 tbsps unsalted butter. salted
¼ tsp vanilla extract
1 cup icing sugar
½ tsp cinnamon

Directions:
1. Preheat oven to 350°F with rack in middle. Butter an 8- or 9-inch square cake pan.
2. Make cake: Whisk together flour, baking powder, baking soda, salt, and spices. Beat butter, brown sugar, and vanilla with an electric mixer at high speed until pale and fluffy, 2 to 3 minutes. Add eggs one at a time, beating well after each addition, then beat in applesauce. At low speed, mix in flour mixture until just combined. The batter will look a little curdly and uneven but don’t worry, it will all bake up perfectly in the end.
3. Spread batter evenly in pan and bake until golden-brown and a wooden pick inserted into center comes out clean, about 35 to 40 minutes. Cool in pan 15 minutes. Run a knife around edge of cake to loosen, then invert onto a plate. Reinvert cake onto a rack to cool completely. 
4.Make frosting: Beat cream cheese, butter, and vanilla with an electric mixer at high speed until fluffy. Sift confectioners sugar and cinnamon over cream cheese mixture, then beat at medium speed until incorporated. Spread frosting over top of cooled cake.


Wednesday, November 3, 2010

Banana Chocolate Chip Muffins


I have arrived at my banana chocolate chip destiny.
This is it.
This is my muffin.


It's my go to muffin when I have a bunch of black bananas threatening to burst their guts on my kitchen counter.


It's cakey, it's moisty, it's chocolately and it's easy.


It's breakfast, it's dessert and it's a snack all packed into one.

Make it as muffins or make it as a loaf. It doesn't judge.


Everyone needs a good banana chocolate chip muffin/loaf in their repertoire,
make this one yours.

Banana Chocolate Chip Muffins
Barely adapted from: The Kitchy Kitchen
Makes: 15 muffins

1 cup sugar
½ cup butter
3 cups mashed bananas (about 5)
2 eggs
2 cups flour 
½ cup milk
1 tsp white vinegar
1 tsp baking soda
1 tsp vanilla
½ tsp salt
½ cup walnuts (optional)
1 cup chocolate chips


Directions:
1. Preheat your oven to 350 F. In a small bowl, mix the milk and vinegar together, letting the milk curdle slightly (you'll see tiny clumps stick two a spoon). 
2. Sift together the dry ingredients. Cream the butter and sugar together until fluffy, then add the eggs one at a time. While on low, add the dry ingredients then the milk alternatively, ending with the milk. Add the vanilla. 
3.Turn off the mixer and fold in the bananas, walnuts, and chocolate chips. Pour into greased muffin cups bake for 20-25 minutes. The muffins should be a deep golden brown and bounce back if you push it.

Monday, November 1, 2010

Sex In a Pan


Sex doesn't look like this:


Occasionally, it ends up looking more like this:


But you have to admit, 'Sex in a Pan' is a catchy name.

Layer #1

A name like 'Carnal Knowledge in a Pan' just wouldn't bring the same intrigue.

Layer #2

I'm sure most virgins people would jump at the chance to try this naughty dessert without even knowing what the ingredients are.

Layer #3

And it truely is no contraceptive necessary, ultra safe sex (in a pan).

Ok......

I'm done.

Layer #4

I really can't talk about sex in public.
It's just not me.
I can smile politely at other's jokes. But really. I don't even like admitting that that munchkin maybe, possibly, there's a small chance..... well you know...... um..... sort of....... is..... well her Dad and I...... ......we're married....... so..... um ...... yea....what about that dessert again?


Sex In a Pan
Makes: 12 - 15 pieces
Source: Bonnie Johnson  from the RPC 50th Anniversary Cookbook

1 cup flour
½ cup butter
1 cup chopped almonds
8oz pkg cream cheese
1 cup icing sugar
1 cartoon Cool Whip
1 pkg chocolate instant pudding
1 pkg vanilla instant pudding
3 cups milk

Directions:
1. Preheat oven to 350°F. Grease a 9 x 13 inch pan. Beat together flour and butter. Add the nuts. Press firmly into the prepared pan. Bake for 20 mins or until golden. Allow to cool completely.
2. Beat together softened cream cheese and icing sugar until light and fluffy. Add 1 cup of cool whip and gently mix. Spread over cooled base.
3. Beat chocolate pudding with 1 ½ cups of milk until thick. Pour over cream cheese layer and gently smooth it out.
4. Beat vanilla pudding with 1 ½ cups of milk until thick. Pour over chocolate pudding layer.
5.Spread with remaining cool whip. Sprinkle with grated chocolate or almonds.
Related Posts Plugin for WordPress, Blogger...